Disclaimer
Maybe this article is not intended for a wide range of people reading this magazine, as I will describe the installation of a niche software related to the medical and health-care enterprise world. It is not a home software; indeed nobody has a positron emission tomography (PET) facility at home, have they?
Intro
Maybe I’m wrong, but reading magazines like this, I have the feeling that Ubuntu, Linux and FOSS in general are mainly perceived, by common people, as something related to or useful for:
- a hobby for geeks, computer enthusiasts and programmers
- a free and legal way to achieve, using a PC, day by day personal interests (an alternative to Windows and paid software) and tasks such as:
- multimedia and amusement: games, image editing and video playback
- personal and home income management
- office software
- and for professional use, it seems something strictly related to information technology, like something made by programmers for other programmers or IT staff:
- network tools
- web server and stuff like that
- programming languages and development tools
- anything strictly related to IT, computer science, network and so on
- and at last something related to business
So, in this article I will explain how to install dcm4chee on Ubuntu. Maybe, as I said before, no reader of this magazine will have the need or the knowledge to install and understand this software, but if you are a student, or if you know a dentist or a radiological study, maybe you could be inspired by knowing the existence of this software.
DICOM and PACS
DICOM (Digital Imaging and Communications in Medicine) “is a standard for handling, storing, printing, and transmitting information in medical imaging”.
PACS (Picture archiving and communication system) is a medical imaging technology which provides storage of and access to images from multiple modalities.
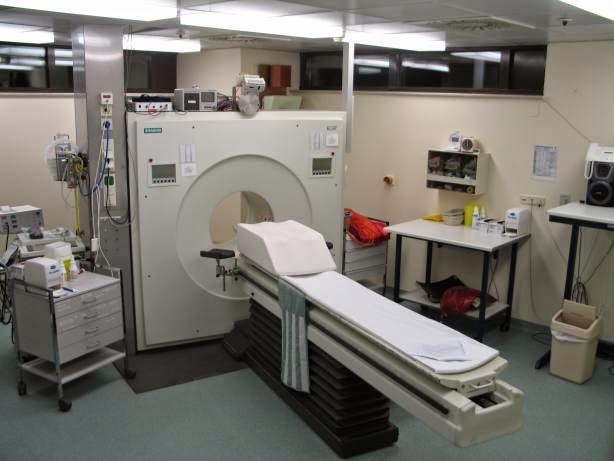
A modality is a source machine where patient’s images are acquired from, for example, an X-Ray machine or a Magnetic Resonance scanner. Some other actors of a PACS are: servers, storage (NAS, SAN, tapes), printers, viewers, CD/DVD robots, etc.

“The application contains the DICOM, HL7 services and interfaces that are required to provide storage, retrieval, and workflow to a health-care environment”. It is written in Java and is prepackaged and deployed within the JBoss application server. It is open source and licensed under an MPL/GPL/LGPL triple license. There are also a lot of DICOM related tools provided by the same developers and community (called dcm4che toolkit), and some DICOM viewers, like Mayam, Oviyam and Weasis.
If you need help and assistance there is a Google group where a vibrant and nice community will be willing to give you some advice. On the other hand, the wiki lacks a little bit in documentation, that is some pages are dated or are incomplete.
Let's install it
Even if some willing person has packaged dcm4che in a “.deb” package, and even if I’m a lover of package management systems, in this case I feel better if I install this software by hand.
So, let’s see how to install dcm4chee on Ubuntu server 14.04 LTS.
First of all we need to install Java. I’m not sure if dcm4chee works with OpenJDK. And I’m not sure if it works with Java 1.7, so let’s install Oracle Java 1.6, using a PPA repository.
sudo apt-get install software-properties-common
sudo add-apt-repository ppa:webupd8team/java
sudo apt-get update
sudo apt-get install oracle-java6-installer
We need to accept the license, and so on. dcm4chee needs a database: Postgres, DB2, Oracle, MySQL, etc. If you want to try it without a RDBMS, you can opt for the HSQL package, but let’s install MySQL.
sudo apt-get install mysql-server
Now we need to create a schema and grant all rights to a user.
$ mysql -uroot -p*****
mysql> create schema pacsdb;
mysql> grant all on pacsdb.* to pacs@localhost identified by 'pacs';
mysql> flush privileges;
mysql> \q
Now we need to download JBoss and dcm4chee zip files. Download JBoss 4.2.3.GA (don’t use a newer version!) from
http://sourceforge.net/projects/jboss/files/JBoss/JBoss-4.2.3.GA/jboss-4.2.3.GA-jdk6.zip/download
Download the latest release of dcm4chee-mysql, 2.18.0 at time of writing, from
http://sourceforge.net/projects/dcm4che/files/dcm4chee/
Put the zip files in a temporary folder, like /var/tmp/dcminstall and unzip them
sudo apt-get install unzip
unzip dcm4chee-2.18.0-mysql.zip
unzip jboss-4.2.3.GA-jdk6.zip
Since we are on a 64-bit operating system, and the dcm4chee zip file contains a 32-bit version of compression library, we have to download the proper Java Advanced Imaging Image I/O Tools for linux 64-bit from
http://download.java.net/media/jai-imageio/builds/release/1.1/
and replace the Linux version of libclib_jiio.so
wget http://download.java.net/media/jai-imageio/builds/release/1.1/jai_imageio-1_1-lib-linux-amd64.tar.gz
tar xzvf jai_imageio-1_1-lib-linux-amd64.tar.gz
cp /var/tmp/install/jai_imageio-1_1/lib/libclib_jiio.so /var/tmp/install/dcm4chee-2.18.0-mysql/bin/native/libclib_jiio.so
Now we have to copy files from JBoss to Dcm4chee:
cd /var/tmp/install/dcm4chee-2.18.0-mysql/bin/
./install_jboss.sh /var/tmp/install/jboss-4.2.3.GA
Now we have to import the provided SQL file in order to create the database tables and indexes:
cd /var/tmp/install/dcm4chee-2.18.0-mysql/sql/
mysql -upacs -ppacs pacsdb < create.mysql
And now we have to move the dcm4chee directory to a definitive place, like /opt, and then it is useful to create a symbolic link (so, in case of an upgrade, we don’t need to modify any script or anything else pointing to the dcm4chee directory):
cd /
sudo mv /var/tmp/install/dcm4chee-2.18.0-mysql/ /opt/
sudo ln -s /opt/dcm4chee-2.18.0-mysql /opt/dcm4chee
It is a good idea to create a dcm4chee user and change the owner of the installation dir.
useradd dcm4chee
chown -R dcm4chee /opt/dcm4chee-2.18.0-mysql
Now we can try to run dcm4chee in foreground:
su - dcm4chee -c /opt/dcm4chee/bin/run.sh
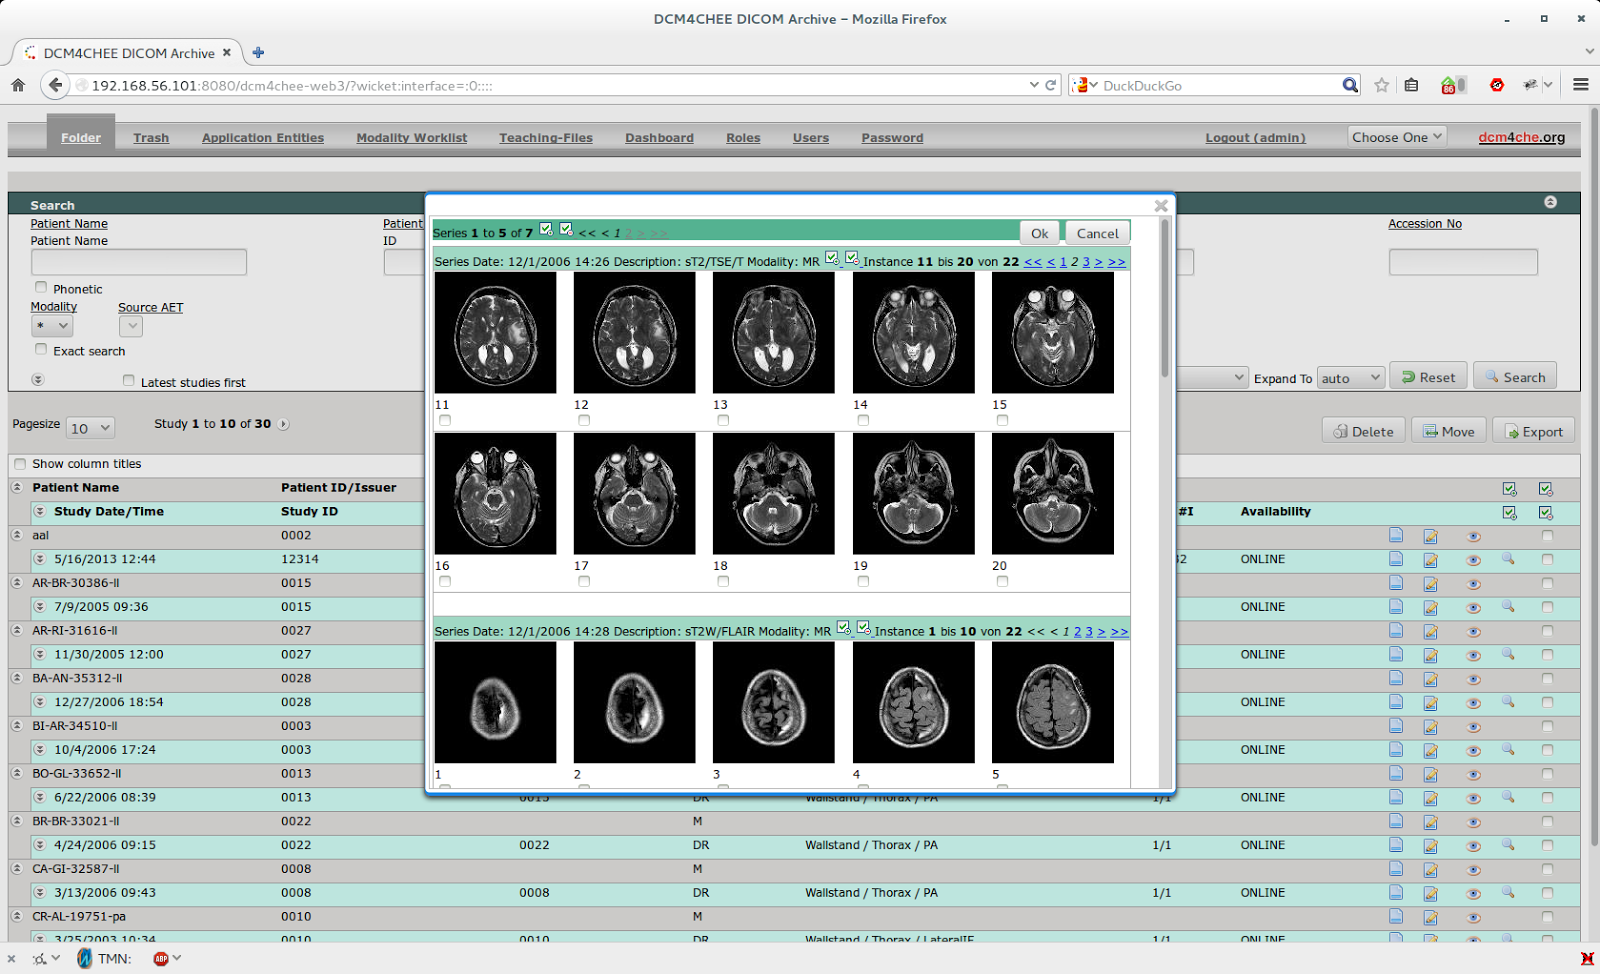
Using a web browser, connect to http://yourubuntuserver:8080/dcm4chee-web3
The default user is “admin” and the default password is “admin”.
In order to make changes to the default configuration, we need to use the JBoss jmx console http://yourubuntuserver:8080/jmx-console/, and this task could be painful since there are no manuals covering a step-by-step configuration: you have to dig inside the wiki and on the old forum or, as I said before, you can call for help in the mailing list.
More info:
- wiki - http://www.dcm4che.org/confluence/display/proj/The+Project
- mailing list - https://groups.google.com/forum/m/?hl=en#!forum/dcm4che
- discontinued forum - http://forums.dcm4che.org